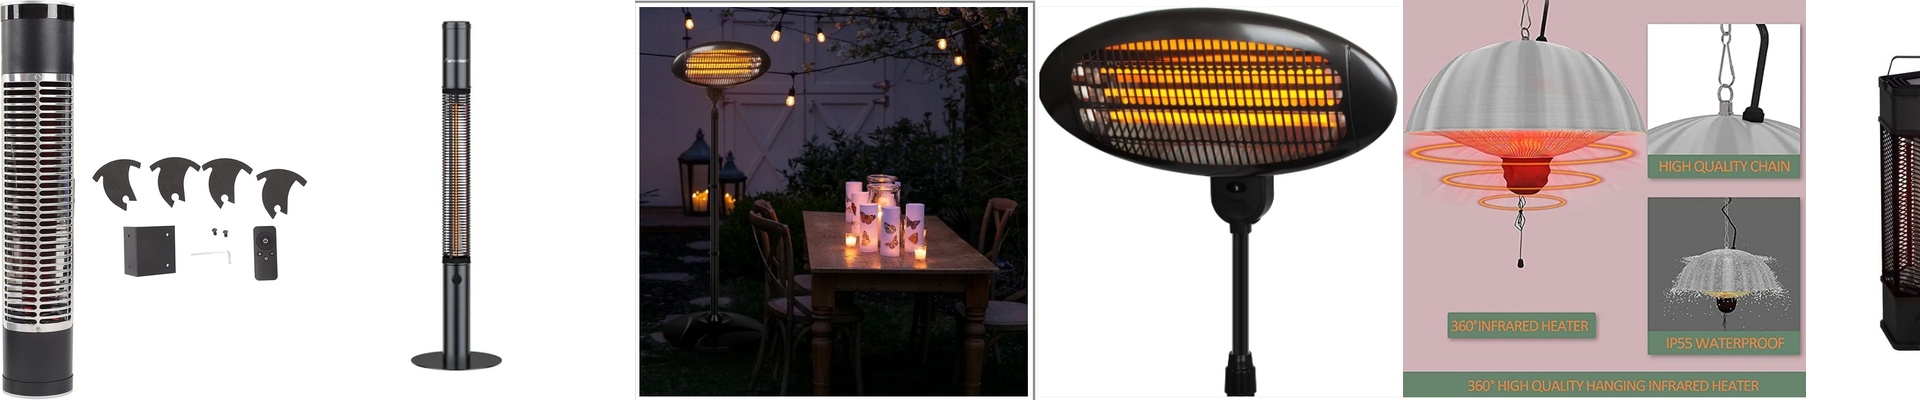
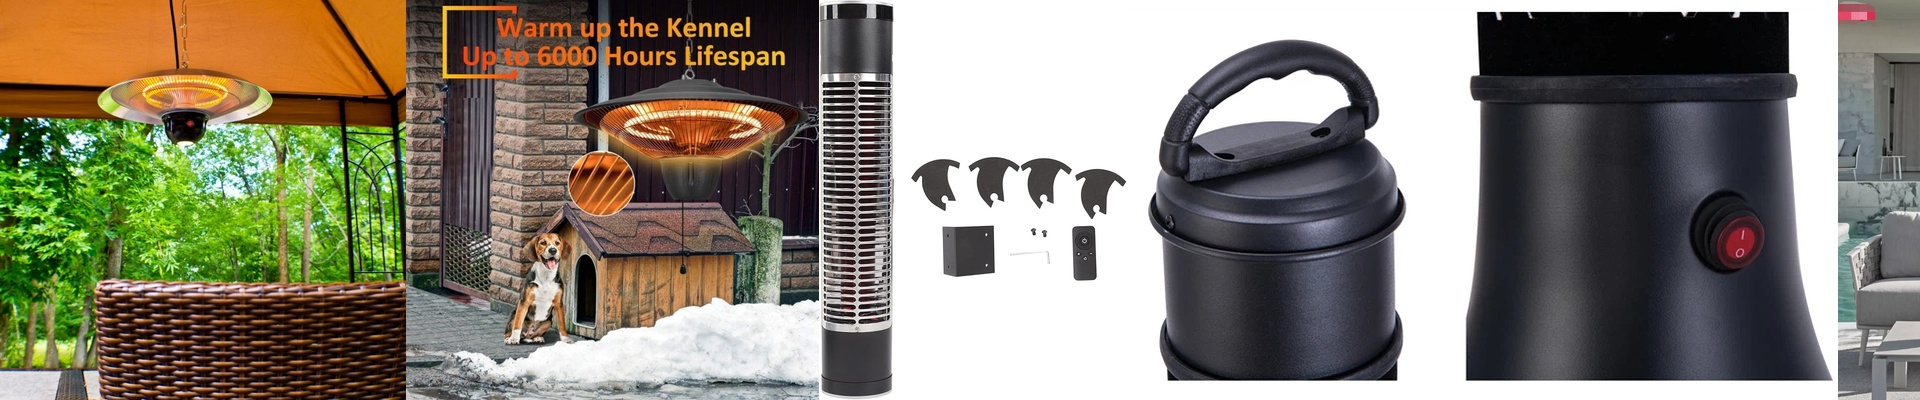

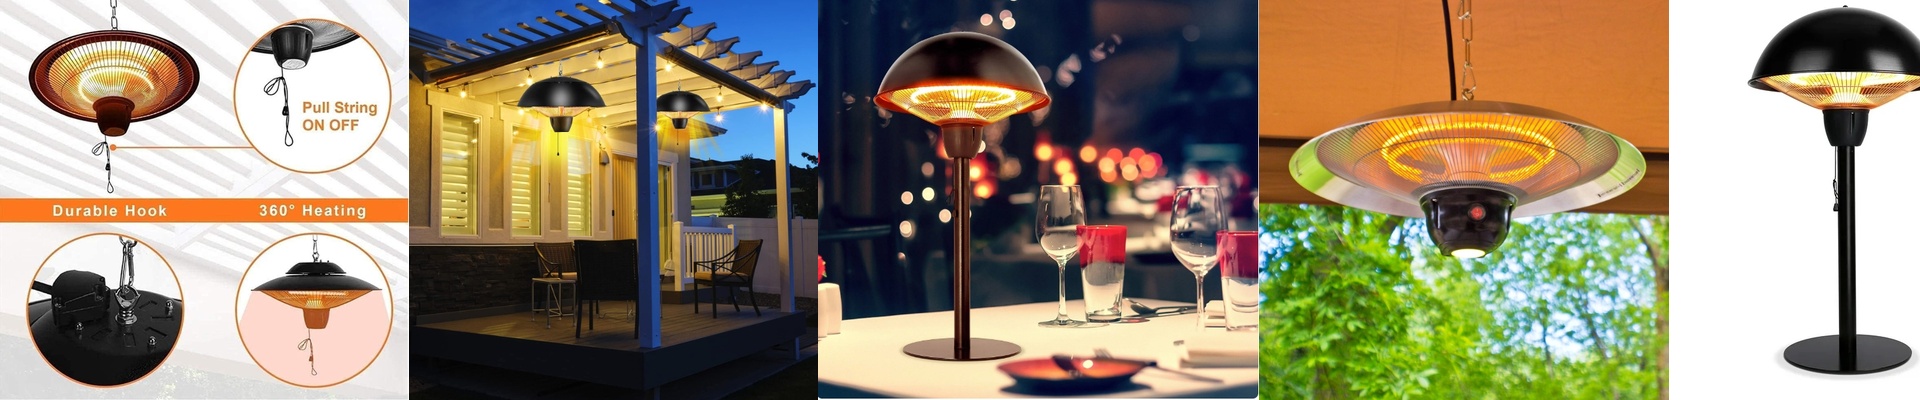
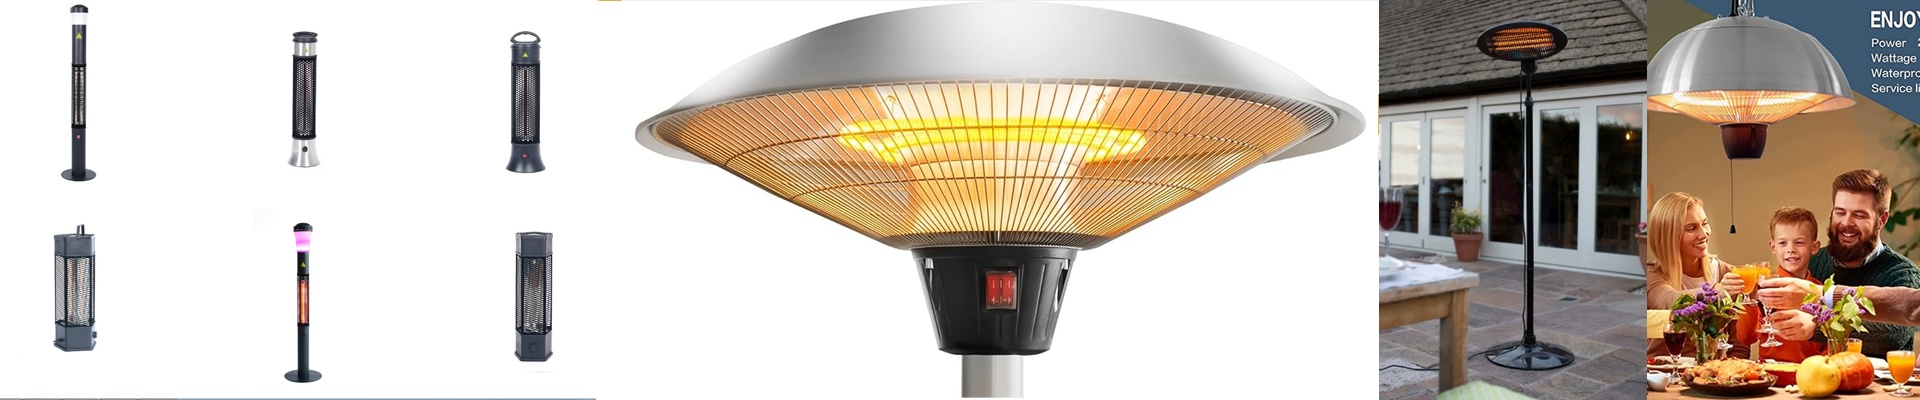
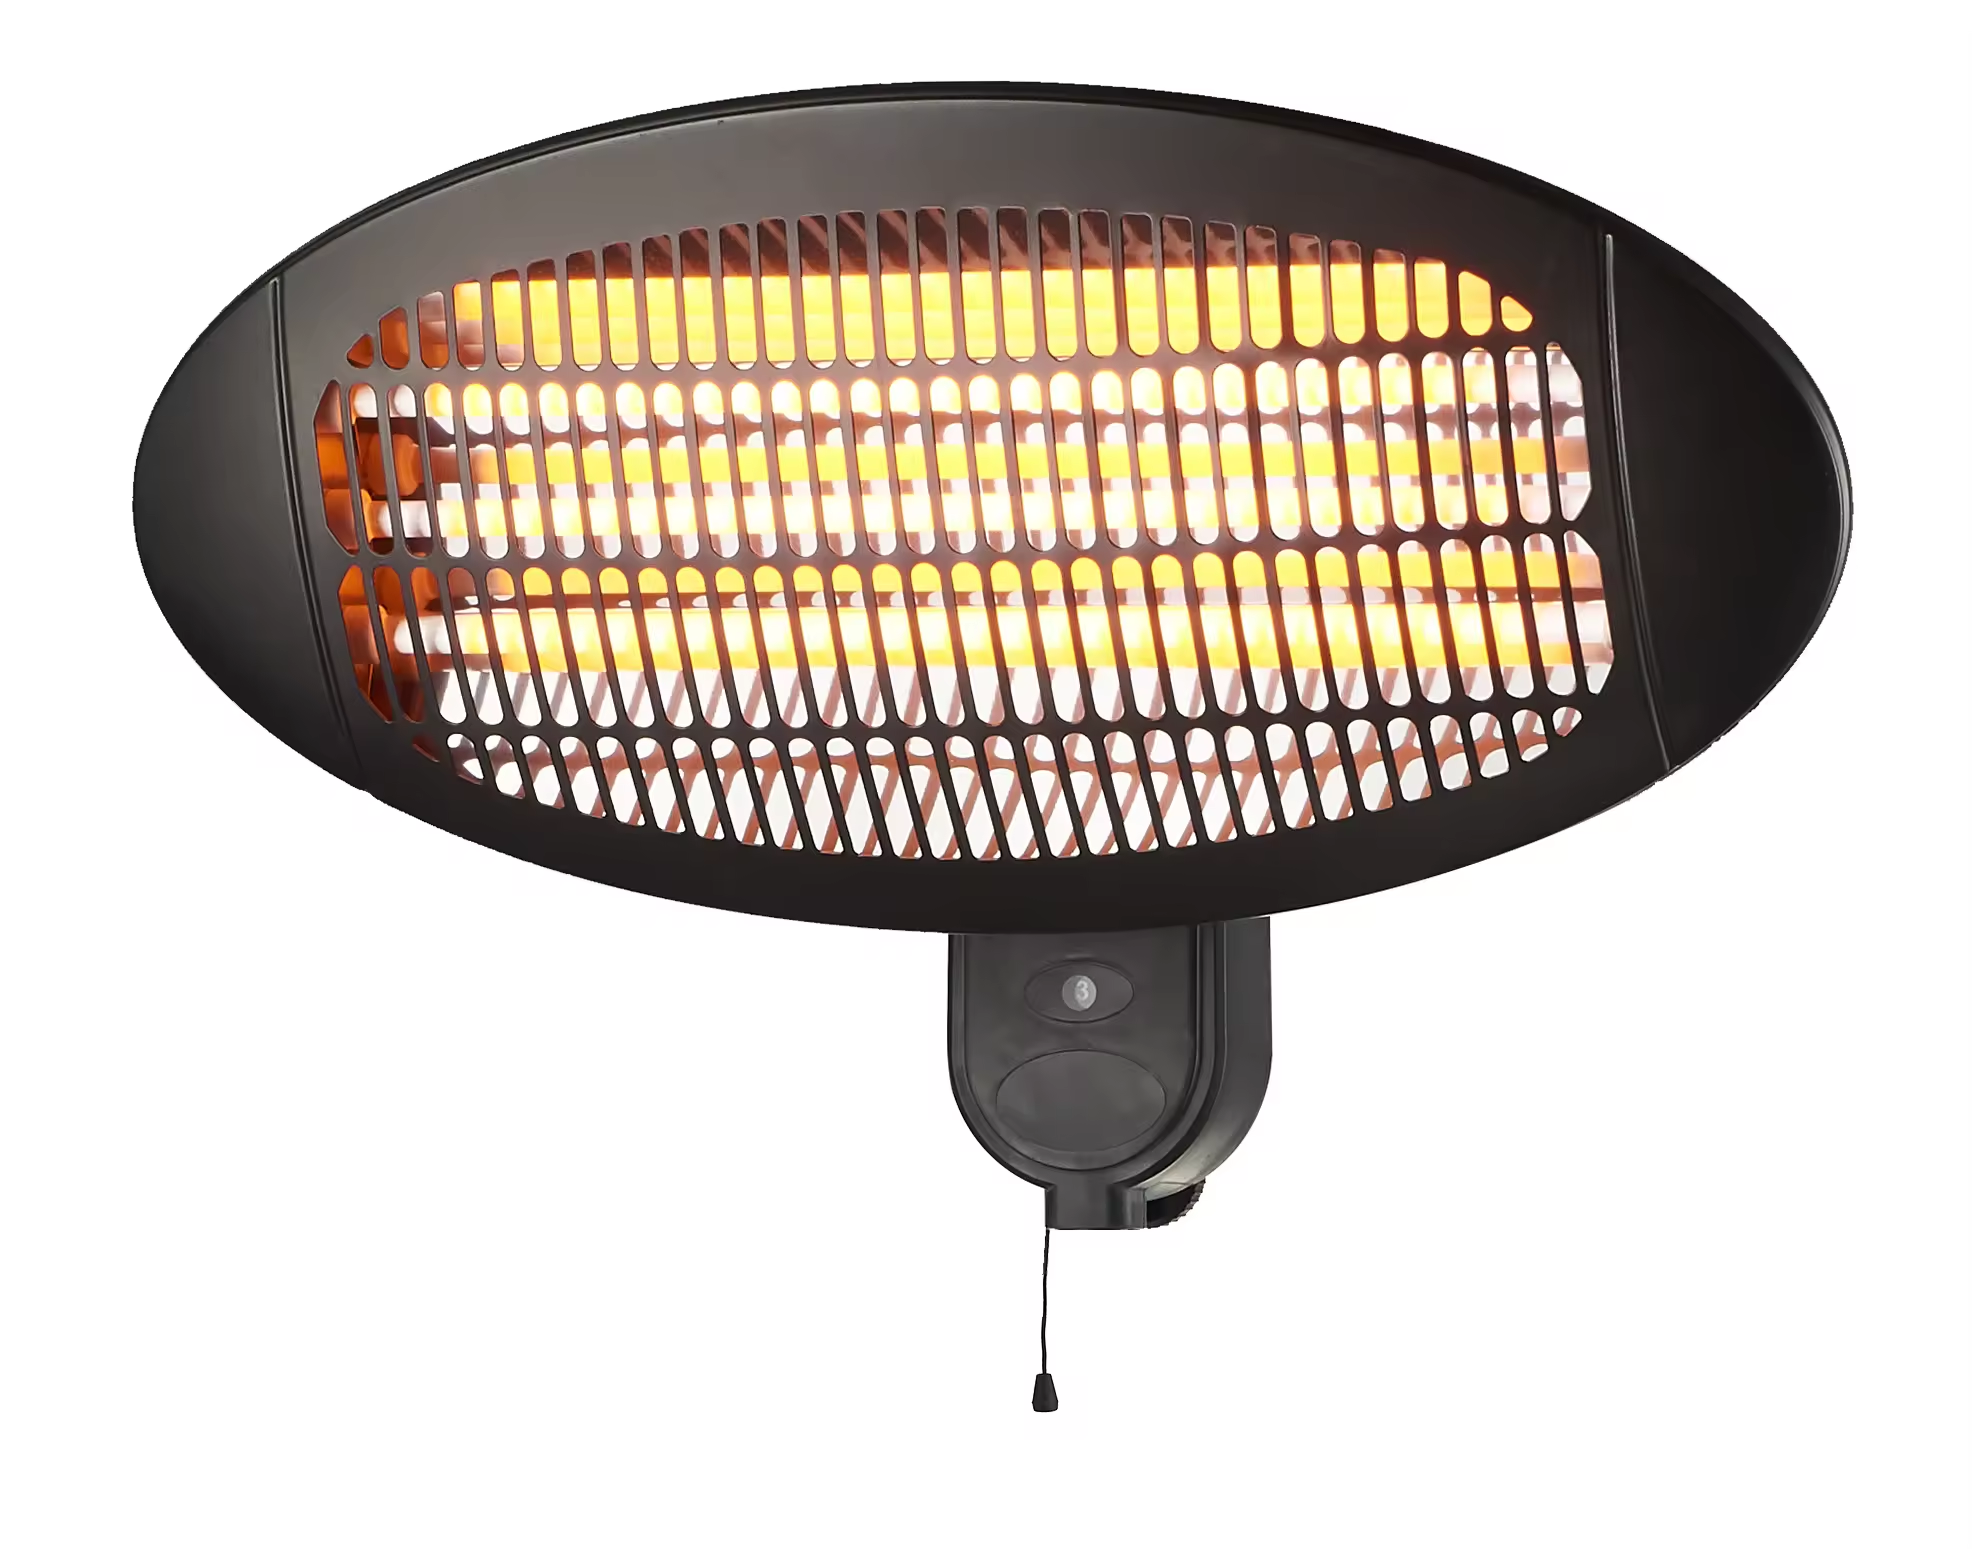
Keeping the Rain Out: How We Build Weatherproof Outdoor Heaters
Let’s be honest: the outdoors are brutal on electronics. Between the humidity, the random rain showers, and that annoying morning dew, moisture is always trying to find a way inside your heater. If it gets in, you’re looking at short circuits or a heating element that rusts out way too fast. We don’t want you replacing your gear every single year. So, we spend a lot of time obsessing over how to keep the water out.
The battle against leaks and fog
Most water leaks happen at the “weak spots”—usually where the wires enter the main body. To fix this, we use heavy-duty silicone gaskets and sealed cable glands. Think of it like a tight rubber seal that just doesn’t let go. Then there’s the fogging issue. You know when warm air hits a cold surface and everything gets cloudy? That happens on the reflectors and quartz tubes. To stop that, we designed the housing to vent. It lets the internal pressure balance out without letting a rainstorm sneak inside. And if you live near the ocean, you know salt air is basically acid for metal. To stop the chassis from crumbling, we stick to powder-coated aluminum and stainless steel fasteners. It stays clean. It stays strong.
The “Breathing” Problem
Here is the tricky part: if you seal a heater too tight, you create an oven. The internal wiring can’t shed heat, and eventually, things start to melt. It’s a balancing act. We use breathable membranes and strategic drainage points. This way, the unit is waterproof, but it can still “breathe” enough to keep the electronics cool and happy.
A quick heads-up on installation
You can have the best heater in the world, but it doesn’t matter if the wiring is a mess. When you’re setting these up, make sure your junction boxes are just as waterproof as the heater itself. There’s nothing worse than a sealed unit connected to an exposed wire. Also, don’t skip the grounding. In damp weather, you want everything safe and stable.